polaroid instant film guide for better shots
Instant photography rewards patience and punishes guesswork. Unlike digital cameras, a Polaroid gives you no preview, no histogram, and no undo button - just eight frames per film pack and a chemical process that unfolds over minutes, not milliseconds. That constraint is the whole point. But it also means that light, distance, and film choice carry enormous weight on every single shot.
This guide covers everything you need to get consistently better Polaroid photos, from choosing the right film format to handling temperature, flash, and composition. Whether you just unboxed your first instant camera or you have a shelf of vintage models, the principles below will sharpen your results immediately.
Quick-start: fastest ways to get better Polaroid photos
Instant film works differently from a phone or DSLR. Each frame is a self-contained photo lab: the moment you press the shutter button, exposure, chemical development, and your final image all happen inside that single card. There is no RAW file and no post-processing. What you capture is what you keep. Polaroid film has an ISO of around 640 for most colour and i-Type formats, which means it thrives in daylight but struggles in dim rooms without help.
Most people who feel disappointed by their Polaroid pictures can trace the problem to one of three causes: poor light, wrong distance, or mismatched film type. Fix those and the improvement is dramatic.
Do these right now:
-
Shoot in bright, soft daylight - overcast skies, open shade, or golden hour light.
-
Use flash indoors. Always. It is not optional for instant photography.
-
Stand roughly 1–2 metres from your subject for portraits.
-
Shield every new print from light immediately after ejection - slip it into a pocket or face-down in a dark space.
-
Use fresh film from a trusted retailer. Poorly stored or expired stock produces unpredictable colour shifts.
-
Match the film cartridge to your camera: 600, i-Type, or Go. Wrong format = wasted money.
-
Charge your camera fully before important shoots; flash and motor drain batteries fast.
This guide focuses on modern Polaroid cameras and instant film - especially i-Type and 600 - rather than Fujifilm Instax or other systems. If you are shopping for Polaroid film or cameras, Bang On stocks the main formats discussed here with proper storage and official warranty coverage.
Understanding instant film vs digital: what you're working with
Instant film is an integral unit containing a negative layer, a positive receiving sheet, and a chemical reagent pod. When you press the shutter, the camera exposes the negative. Rollers then spread the reagent across the layers, initiating a diffusion transfer process that builds the visible image over several minutes.
Compare that to digital cameras or your phone: those devices offer live preview, adjustable ISO, burst modes, and unlimited storage. An instant camera gives you none of that. You get a fixed ISO (640 for 600 and i-Type colour film), limited dynamic range, and exactly eight shots per pack. Highlights blow out easily and shadows block up fast, which is why Polaroid film works best in bright, soft light. Low light can cause Polaroid shots to fall apart - muddy tones, blur from long shutter times, and underexposed faces.
Natural light produces better colour renditions in Polaroid photography than artificial light, which tends to throw orange or green casts across the scene. That single fact shapes almost every recommendation in this guide.
The trade-off is worth it: each photograph is a unique physical object. No duplicates unless you re-shoot. That makes instant photos perfect for events, travel journals, and keepsakes. The mindset shift is simple - shoot slower, think in "one frame, one decision."
Choosing the right Polaroid film format (i-Type, 600, Go)
The right Polaroid film depends entirely on your camera model. Using the wrong film type is the most common beginner mistake, and it wastes an expensive pack.
-
i-Type film - designed for newer Polaroid cameras like the Polaroid Now and Now+. No battery inside the film pack; the camera's rechargeable battery handles everything. Usually slightly cheaper and more eco-friendly. Browse the Polaroid Color Film i-Type Double Pack to see what's available.
-
600 film - Polaroid 600 film includes a built-in battery in every pack, powering vintage 600 cameras from the 1980s–1990s. It also works in some modern cameras, but the battery adds cost. The Polaroid Color Film for 600 Double Pack is a good starting point.
-
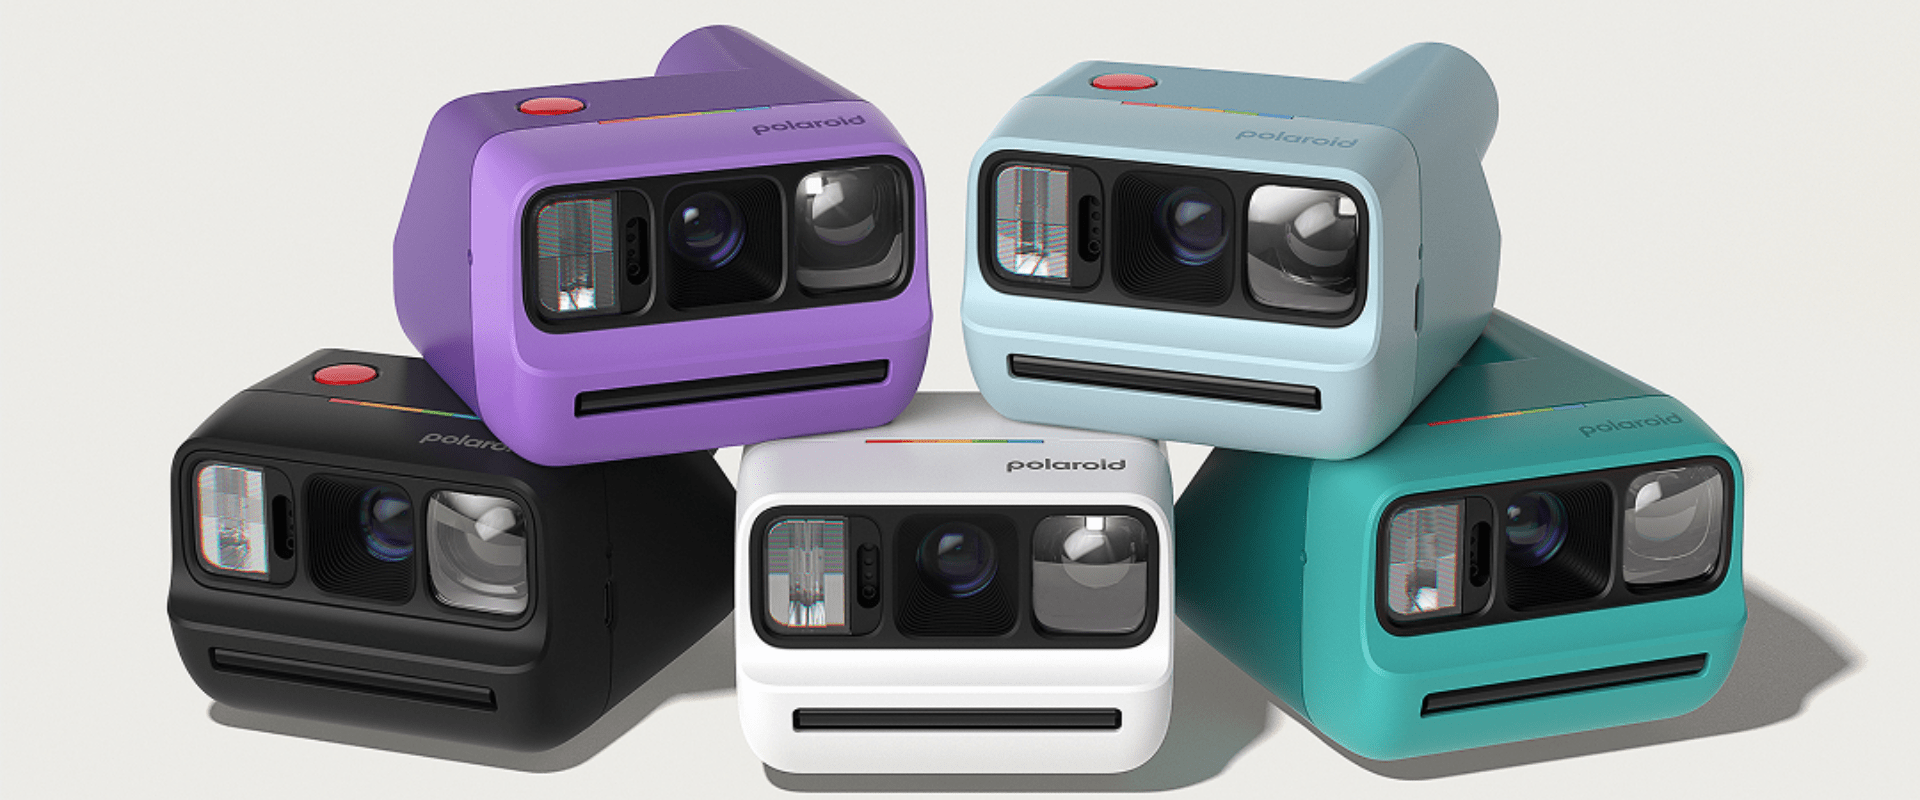
Go film - a smaller frame made for the compact Polaroid Go camera. Same ISO as i-Type and 600. Great for travel, party favours, and casual portraits where portability matters more than print size. Read more about the latest model in Polaroid Go Generation 3: Worth It?
-
SX-70 film - SX-70 film has a lower ISO than 600 film (around 160), so it needs significantly more light and is less forgiving indoors.
How to match film and camera: check the marking on your camera body (600, i-Type, Go) and match it to the same marking on the film box. Polaroid film is not interchangeable with Instax. For a deeper breakdown, see our Instant Film Formats Guide for Better Prints.
Simple rule: if you bought a new Polaroid camera in 2024 or later, you are almost always looking at i-Type or Go film.
The big difference between 600 and i-Type is the power source and compatibility - the image quality and emulsion are essentially the same.
Color vs black & white Polaroid film: which to use when
Colour and black & white Polaroid film respond differently to light and mood, so the choice should match your scene and intent.
Colour film:
-
Polaroid color film has creamy highlights and soft contrast - the iconic Polaroid look.
-
Best for social moments, travel snapshots, birthdays, beach days, and everyday portraits.
-
More sensitive to temperature swings; heat pushes tones toward orange, cold toward green.
Black & white film:
-
Copes better with tricky lighting conditions and high contrast scenes.
-
Emphasises shadow, texture, and shape. Excellent for street photography, architecture, and moody portraits.
-
Often gives sharper-looking, higher-contrast instant photos, making it more forgiving for beginners.
Scene suggestions:
|
Scene |
Recommended film |
|---|---|
|
Birthday party with warm lighting |
Colour |
|
Rainy city street at dusk |
B&W |
|
Beach afternoon with friends |
Colour |
|
Minimal fashion portrait |
B&W |
|
Neon-lit night market |
Try both |
Overexposing Polaroid film can create a dream-like effect on colour stock - blown-out highlights, pastel tones. On B&W, the same overexposure tends to flatten contrast. Experiment by shooting the same scene with both film types to see how mood shifts.
Light is everything: how to expose Polaroid film properly
Exposure is the real challenge with instant film and the top reason results feel "random." There is no live histogram, no multi-frame bracketing. You make one call and live with it.
Ideal light: bright but indirect daylight. Open shade outdoors - under a tree, a building overhang, or a covered walkway. Indoors, position subjects near a large window. This gives smooth skin tones and balanced contrast. Polaroid film thrives in bright, indirect daylight, and this single condition solves most exposure problems.
Why harsh noon sun hurts: direct sunlight creates deep shadows under eyes and noses, blown-out highlights on foreheads and shoulders, and squinting subjects. Turn your subject away from the sun or move entirely into shade. Bright sunlight also confuses the camera's meter when backgrounds are much brighter than faces.
Situation-by-situation guide:
-
Outdoor sun: keep the sun behind or to the side of the subject. If the background is very bright (sand, water, white walls), dial exposure compensation slightly toward dark to protect highlights.
-
Cloudy days: often perfect for instant film. Even, diffused good light with gentle shadows. Keep subjects within 1–2 m and watch for very dark clothing against dark backgrounds - the limited dynamic range can merge them.
-
Indoors: available light is usually too dim or too orange. Use flash indoors for most portraits and place subjects near walls to bounce some ambient light and keep the background visible rather than a black void.
-
Golden hour: warm, directional, beautiful - but fading fast. Shoot quickly and bias exposure toward light if faces are backlit.
Use the lighten-darken control for exposure adjustments. Most Polaroid cameras have a simple slider or wheel:
-
Indoor scenes: nudge toward lighten.
-
Bright snow or beach: nudge toward darken.
-
Backlit portraits outdoors: nudge toward lighten and consider fill flash.
Polaroid film is temperature-sensitive and affects color quality, so keep that in mind when shooting in extreme heat or cold - more on that in the storage section below.

Using flash indoors for better Polaroid photos
Polaroid film is balanced for daylight. Indoors, the built-in flash is your primary light source, not an optional extra. Using flash indoors is essential for Polaroid photography - without it, faces go muddy, colours shift, and shutter speeds drop low enough to blur everything.
Flash range: Polaroid cameras often have limited flash range, typically around 2 to 10 feet (roughly 0.6–2.5 m). Beyond that distance, the flash cannot adequately light your subject and the shot falls dark. Keep subjects close.
Tips for flattering flash:
-
Position subjects near walls to avoid dark backgrounds. A nearby wall catches spill light and adds depth instead of a black void.
-
Avoid mirrors or windows directly behind the subject - they bounce the flash straight back into the lens, creating glare or light leaks in the frame.
-
Continuous light sources may appear orange indoors (tungsten bulbs, warm LEDs). Either embrace the colour shift for vintage charm or turn off competing lamps so the flash dominates.
-
Flash helps with nearby subjects in low-light conditions, but it falls off quickly. For group shots beyond 2 m, add as much ambient room light as possible.
For a subtle look, some photographers diffuse the flash with a small piece of translucent tape. This softens shadows on faces. Avoid covering the lens or any sensors when you experiment.
Even when shooting indoors with flash, shield the ejected photo from direct light for the first few seconds and ideally the first full minute. This helps saturation and contrast settle properly during the chemical development stage.
Distance, focus, and framing: how to avoid soft or awkward shots
Many "blurry" instant photos are actually focus-distance issues, not camera defects. Polaroid cameras typically have a minimum focus distance of about 0.6 metres (roughly 2 feet). Anything closer and the subject will be out of focus regardless of light.
-
Portrait range: 0.6–2 m works best. Fill the frame with one to three people. For a single portrait, think chest-up framing, not full-body from across the room.
-
Step back when shooting portraits to avoid close focus issues. If you are too close, the camera cannot lock on properly.
-
Avoid zooming or ambiguous middle distances (5–10 m) where subjects become tiny against the square Polaroid frame. Avoid zooming with your feet in the wrong direction - move closer rather than further.
-
The photography composition technique called the rule of thirds can enhance Polaroid photos: place eyes roughly one-third from the top edge of the frame. Use leading lines in the scene - hallways, fences, staircases - to draw the eye toward the subject.
-
Keep backgrounds simple. A cluttered background competes for attention in a small print.
-
Brace the camera with steady hands: hold with two hands, tuck elbows against your body, or lean against a wall. This matters enormously in low light when the shutter stays open longer.
Temperature and storage: protecting your Polaroid film
Temperature makes a big difference to instant film colour and development time. Polaroid film is sensitive to temperature, affecting image quality in ways that digital cameras simply never encounter.
Storage:
-
Proper film storage includes keeping unopened Polaroid film in a refrigerator (around 5–10°C). Never freeze it.
-
Before loading, let the film pack warm to room temperature - keep Polaroid film at room temperature for best results before shooting.
-
The ideal development temperature for Polaroid film is around 13°C to 28°C. Outside this range, chemistry behaves unpredictably.
Heat (above ~28°C): colours go muddy, orange, or pink. Chemical reactions speed up unevenly. In hot weather, carry film in an insulated bag, not on a sun-baked car dashboard.
Cold (below ~13°C): development slows dramatically. Images emerge pale, washed out, with greenish casts. In cold weather, tuck cold film and freshly shot prints inside a jacket pocket to keep them warm while they develop properly.
Finished prints:
-
Store away from direct sunlight - fading is permanent.
-
Use albums or archival sleeves, not tape on sunlit walls.
-
Flat storage prevents warping.
Buying instant film from authorised retailers like Bang On reduces the risk of heat-damaged stock from poor warehousing or long supply-chain exposure.
Simple shooting habits that make a big difference
Habits matter more than gear once you have a working camera and the right film. Here are the ones that separate consistently good Polaroid shots from lucky accidents.
-
Shoot slowly. Pause before pressing the shutter button. Scan the edges of the frame. Look for distractions - a trash bin, a bright exit sign, someone's elbow.
-
Take a quick light reading with your eyes. Are faces in shadow? Is there a bright window behind the subject? Adjust position or exposure compensation before committing a frame.
-
Use flash indoors by default, and even outdoors in backlit situations to lift faces with fill flash.
-
Keep fingers, straps, and hair away from the lens and flash. A partially blocked lens attachment or sensor ruins the shot.
-
Always shield the photo immediately after it develops. Slip it face-down into a pocket, bag, or dark box. Shaking Polaroid photos after ejection disrupts chemical development - never shake them despite the old myth.
-
Track what works. Keep your favourite frames together and note conditions: time of day, distance, film type, exposure compensation setting. After a few packs this log becomes invaluable.
Aim to finish a whole pack intentionally - eight thoughtful shots - rather than spraying through multiple packs hoping for one keeper. Each frame of Polaroid film costs real money, so treat every moment at the viewfinder as a decision.
Creative ideas and film choices for Polaroid photography
Once exposure is under control, instant cameras become a creative tool, not just a novelty producing instant gratification.
Colour film projects:
-
Travel diaries: one shot per city or neighbourhood, captioned on the white border.
-
Party portraits where every guest writes a message under their Polaroid photos.
-
Before-and-after room makeovers for interior design records.
B&W film projects:
-
Minimalist cityscapes - concrete, glass, shadow in urban settings.
-
High-contrast stairwell or alleyway studies with strong directional light.
-
Fashion or editorial-style portraits that lean on texture and form over colour.
Special editions and display:
-
Match coloured border frames to outfits, seasonal events, or home decor when displaying prints.
-
Use Go film for casual everyday carry and quick visual notes; larger i-Type or 600 frames for statement images you plan to frame or gift.
Consider scanning your best Polaroid images at high resolution. This lets you archive and share them digitally while keeping the originals protected in albums.
Buying and maintaining your Polaroid camera and film
Getting authentic Polaroid cameras and fresh film from authorised retailers matters more than most people realise. Expired or poorly stored stock produces inconsistent colours, and grey-market cameras may lack warranty support. Expired Polaroid film can create unexpected artistic flaws - sometimes interesting, usually frustrating.
Bang On curates Polaroid instant cameras and Polaroid film alongside other design-led lifestyle gear, helping you choose the right i-Type, 600, or Go setup without being overwhelmed. For a broader comparison, the Polaroid vs Kodak Instant Cameras guide is worth a read.
Maintenance basics:
-
Keep the lens and viewfinder clean with a soft, lint-free cloth.
-
Do not force the film door - it is designed to open only when the camera is ready.
-
Charge the camera (or confirm battery in the film pack for 600 models) before important shoots.
-
Never leave cameras loaded with film in hot cars or damp environments.
Bang On offers official warranties and direct brand sourcing, giving peace of mind for long-term instant photography use.
Troubleshooting common Polaroid photo problems
Even experienced users get misfires. Most issues have straightforward fixes.
|
Problem |
Likely cause |
Fix |
|---|---|---|
|
Photo too dark |
Low light, no flash, or subject beyond flash range |
Move closer, turn flash on, nudge exposure toward lighten |
|
Photo too light / washed out |
Strong sun, white background, lighten dial too high |
Shoot in shade, turn exposure toward dark, keep direct sunlight off the lens |
|
Streaks or uneven development |
Dirty rollers, heat-damaged film, or shaking the print |
Gently clean rollers per manual; never shake prints |
|
Colour shifts (pink, green, orange) |
Extreme temperature, expired film, or mixed artificial light |
Shoot between 13–28°C; use fresh film; favour natural light |
|
Soft or blurry image |
Subject too close, camera shake, or slow shutter in dark scenes |
Respect minimum focus distance; brace the camera; use flash |
Polaroid photos develop in about 15 minutes under normal conditions. Resist the urge to judge the image before it has fully emerged.
When you load a new batch of film or a newly acquired vintage camera, sacrifice one test frame in controlled conditions - bright daylight, known distance. Use the result to calibrate your expectations and adjust technique for the rest of the pack.
Every pack of Polaroid film is eight chances to photograph something worth keeping. Slow down, read the light, choose the right film, and trust the process. The iconic Polaroid look - warm, textured, unrepeatable - is still one of the most satisfying ways to capture a picture.
Ready to start? Browse Bang On's Polaroid camera and film collections, grab a double pack of i-Type or 600, and put these tips to work on your very next shot.